
MSU Package Bee Installation, Day 1.
— By Zachary Huang, Associate Professor, Michigan State University.
We purchased 40 three-pound packages, at $70 each. I ordered 20 Italian queens and 20 Carniolans.
The packages arrived and were picked up Monday (April 18th), but the weather was too cold to install them. We tried on Tuesday but it was raining and cold (about 4C), and we gave up after almost getting totally wet. But we did setup 10 hives to house the new packages. These 10 could be installed at any time (although still preferably above 11C/51F during installation, so that bees can cluster, because bees can become immobilized below that) since they have some honey (2-3 frames of old honey) and do not rely on feeders.
We wanted to establish most colonies Nosema-free for our studies. These would have all the wooden parts (bottom board, hive body, wooden frames, inner cover, out cover) autoclaved and start with new foundations. They thus need to be provided with lots of sugar syrup (especially at this weather!). We have three types of feeders:
1. We only had 12 bucket feeders (2 gallon buckets with a screened hole in the center) which are not much affected by weather (i.e. bees can probably drink from it around near-freezing temperature).
2. Hive top feeders, which require bees to climb up and drink from a tray located on either side. These feeders will not work during cold weather — bees will not be able to go up and take food, if it is below 11C/51F.
3. We have tons of hive-top feeders, but cannot use them due to cool weather. So I decided to try ziplock bags. Have not really used them before, so first time for me.
The following is a photo journey for what we did on Thursday.
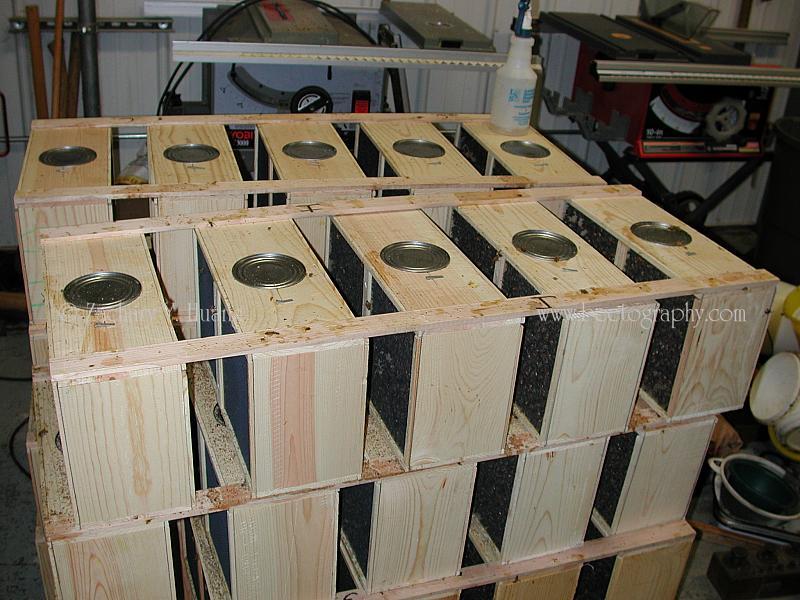
These packages have been sitting in the garage for 4 days.

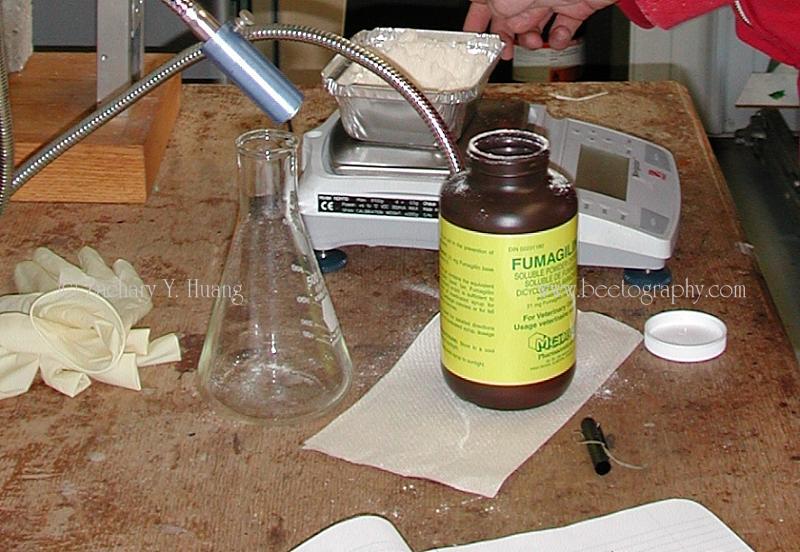
Preparing Fumidil for feeding the bees. This antibiotic will only disrupt Nosema spore reproduction after the spores are germinated inside the midgut of bees.
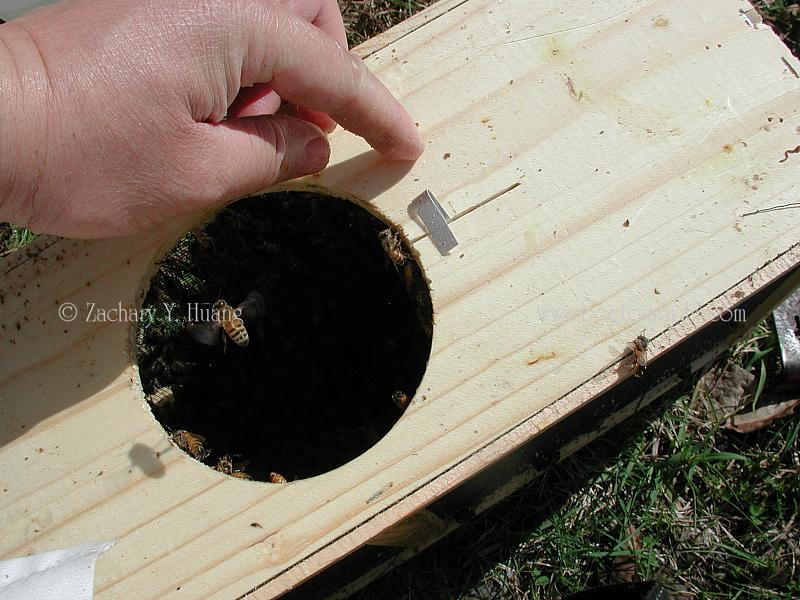
This is the home site…packages will be housed in old equipment as it will provide us sources of Nosema ceranae through natural infection (hopefully! Usually packages bees came with a high dose of Nosema).

The first step is to separate the packages from the wooden support.

Now the packages are ready. Dr. Samina Qamner, a postdoctor fellow from Pakistan was helping. She probably did more packages since I was trying to take photos and installing at the same time. I used an old point and shoot camera for the photos.
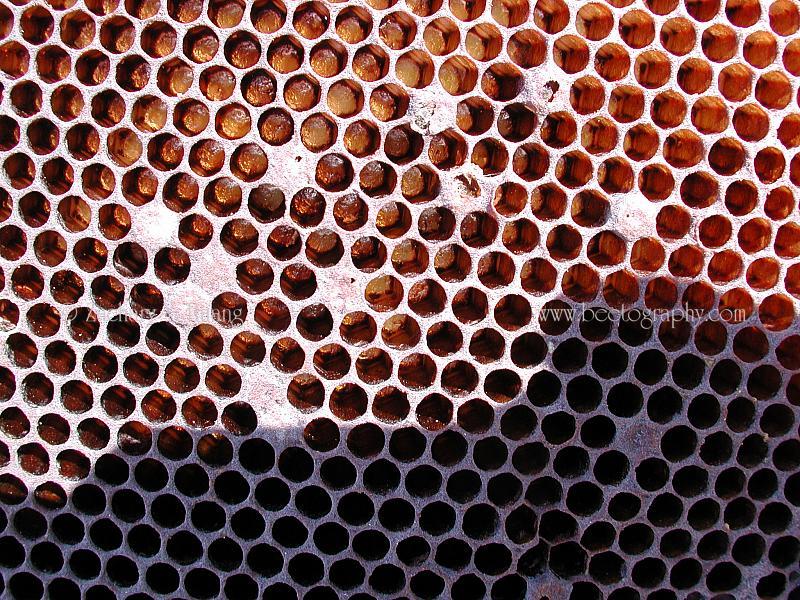
This frame has signs of AFB (American foulbrood) and I had to throw frames like these out. Last time in the rain we did not inspect carefully enough.
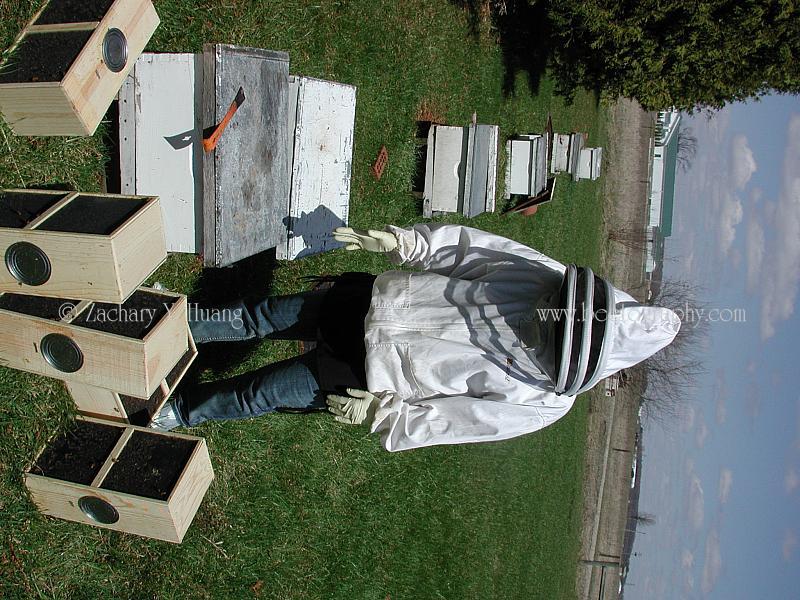
I did not use a veil, got 5 stings in my head at this yard. At Simon Yard I got about 25 more! So use a veil! I did the next day (and also today).

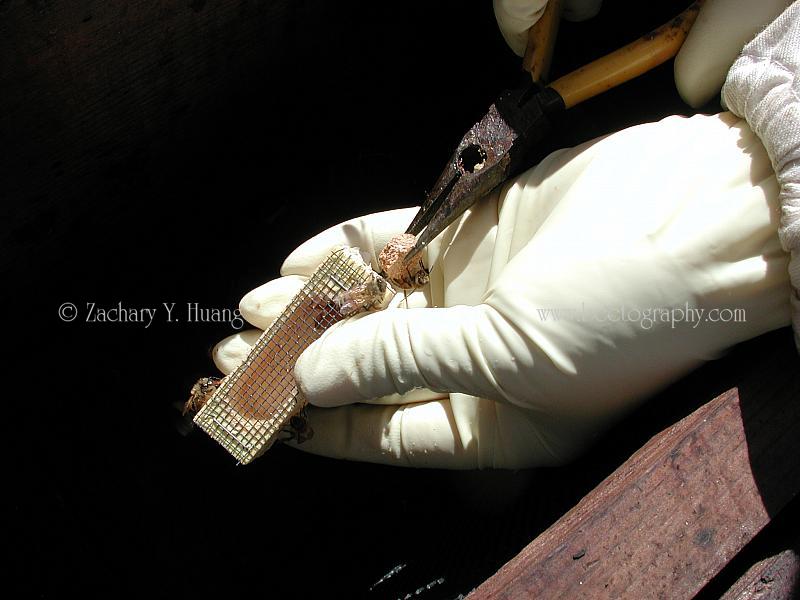
Take the queen cage out by sliding the metal out.
The queen would be inside this cage. The cage has no food, but all 40 queens were alive.
Removing the cork so that queen can escape – I am not sure if I made the right decision to release alt the queens the same day. It is possible that bees might turn against their queens when too stressed. I was thinking to let the queens out right away since the packages have been sitting in the garage for 4 days and they had enough time to “know†their queens. It would have been safer to come back the 2nd day and release the queens. This type of cage did not have the option of “self-release” — some cages have sugar filled holes and once you remove a cork, bees can eat through the sugar and release the queen. One can also use a nail to punch a hole in the sugar to make that process faster.
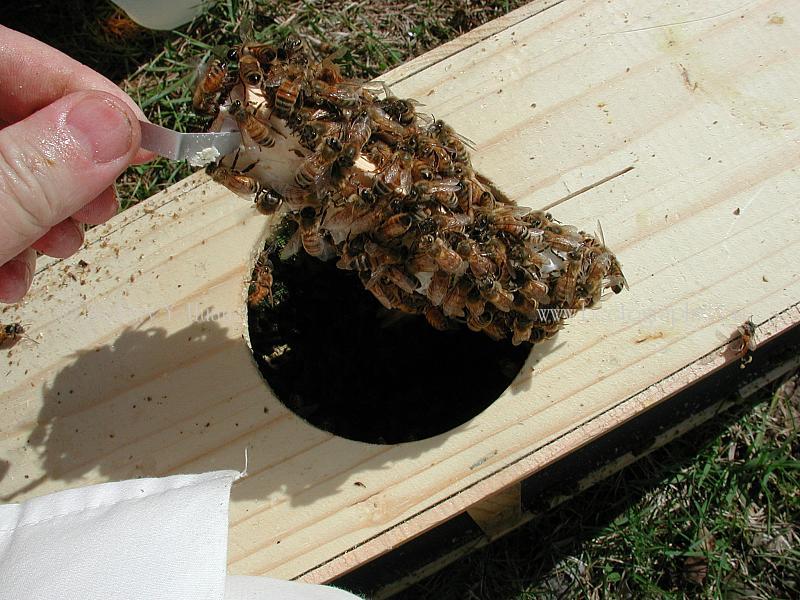
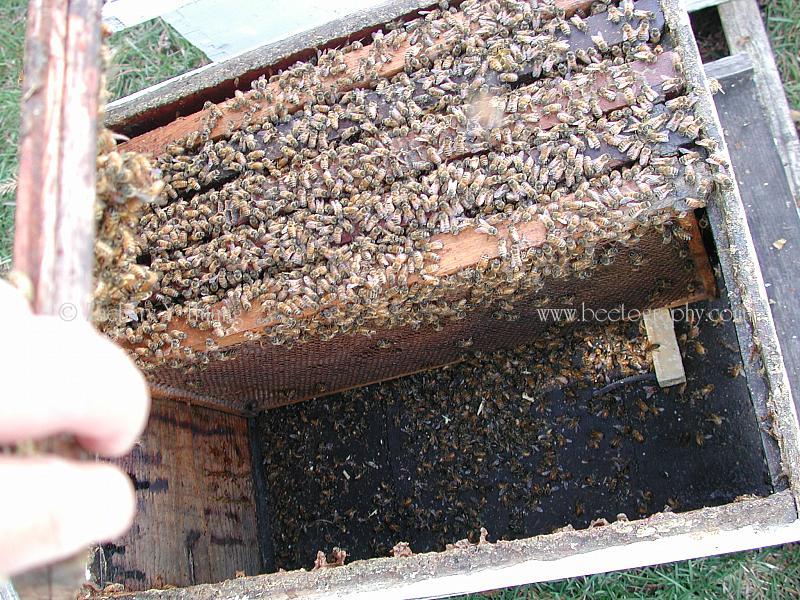
Shaking the bees to the hive.

Bees shaken out to the hive.
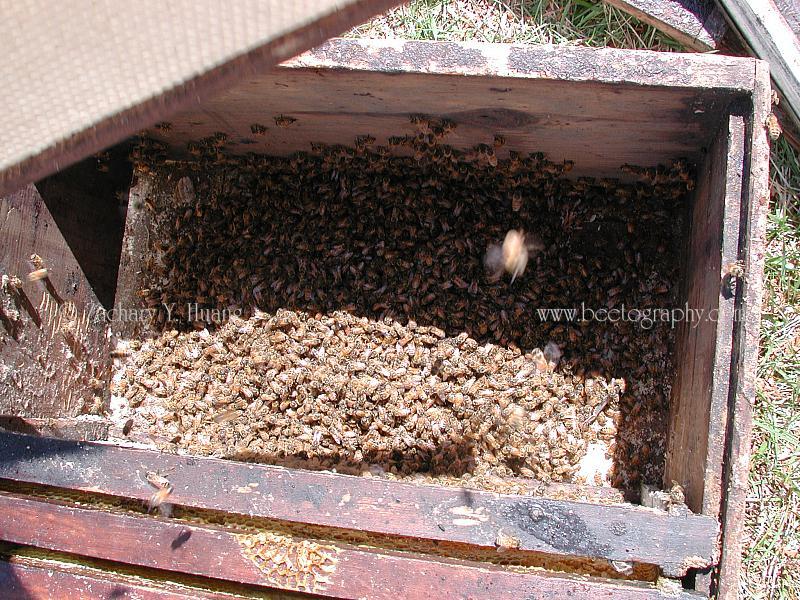
20 min later, bees are spread onto all the frames.
Bees flying around after done. It was about 54 that day. I had to right the packages (with the hole upward) later since at these orientations the bees could not get out.
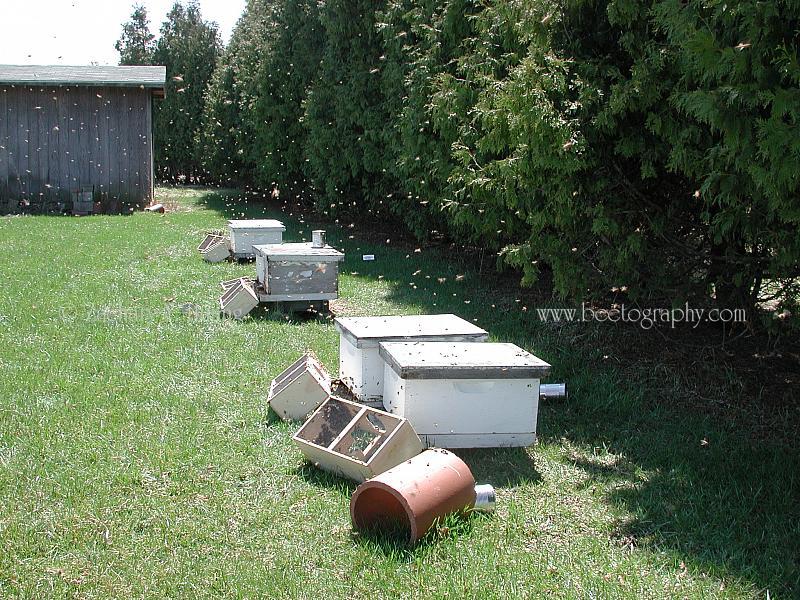
At Simon yard. These packages are orientated correctly so bees can escape easier (they tend to go up!).

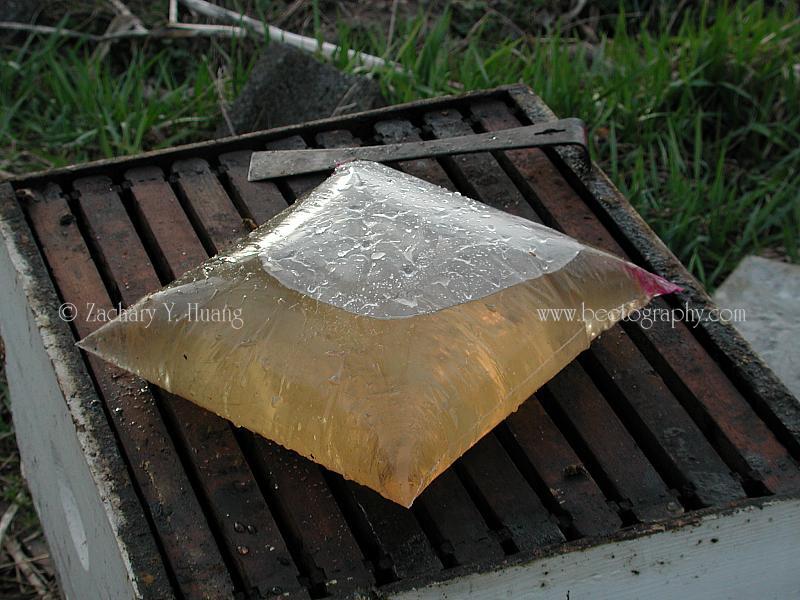
Our ziplock bag “feeder†(1 gallon size).
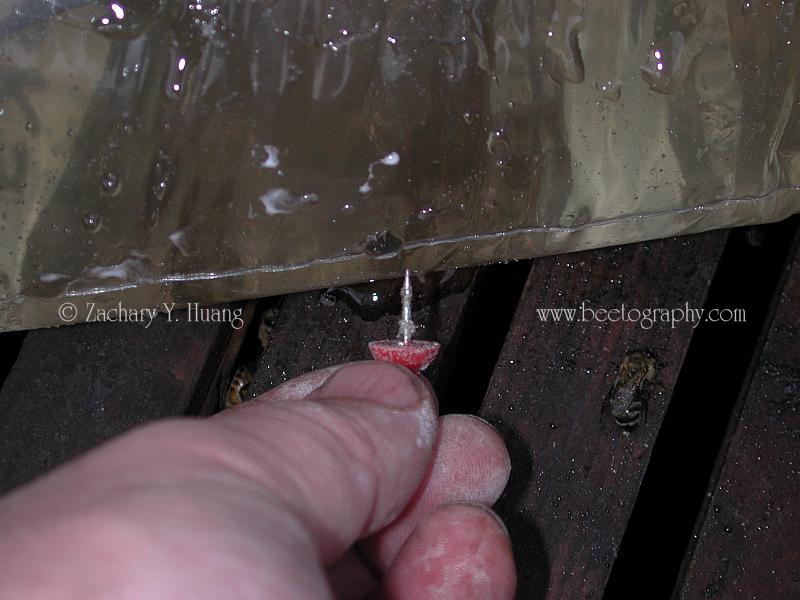
Using a pin to punctuate 1-2 holes per bag. I was afraid the syrup would run too fast when I saw it was sprouting out quite quickly. But when I checked today (Saturday, April 23rd, most bags were too full, and I had to add 6-10 holes per bag). But 2 bags were nearly empty, perhaps due to a leak from zipped area, unintentionally.
With a medium super to give room for the feeder.

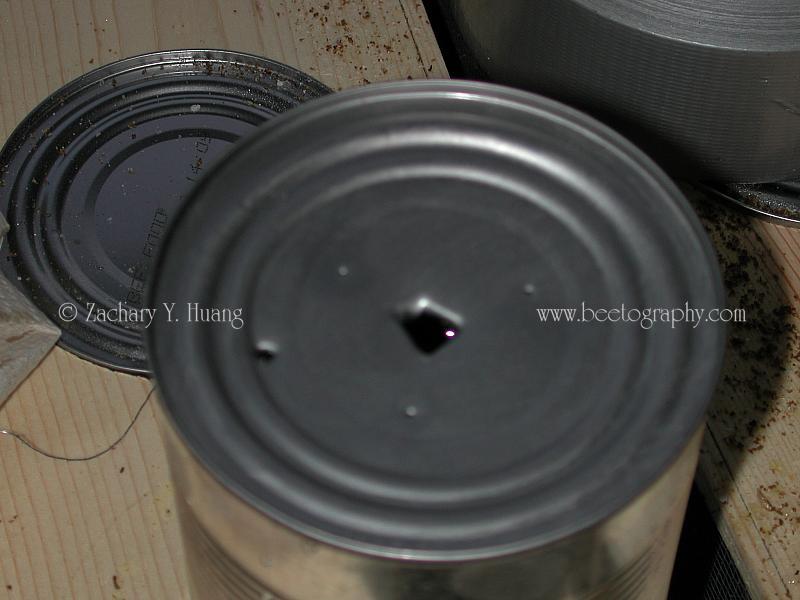
Matt had a bad reaction to bee sting and had to visit an urgent care. So Samina and I did not finish all 40 packages the first day. We checked each can for enough syrup. If empty, we punched a hole in the center and added some syrup (about 20% of the can), which we estimated it would be enough for one more day. The hole on the side can let the air out and making adding syrup easier. Sorry I have not used a point and shoot camera for a while and this one was not focused. SLR would not do this but I did not want to have my $3000 camera gunked up with propolis and beeswax.
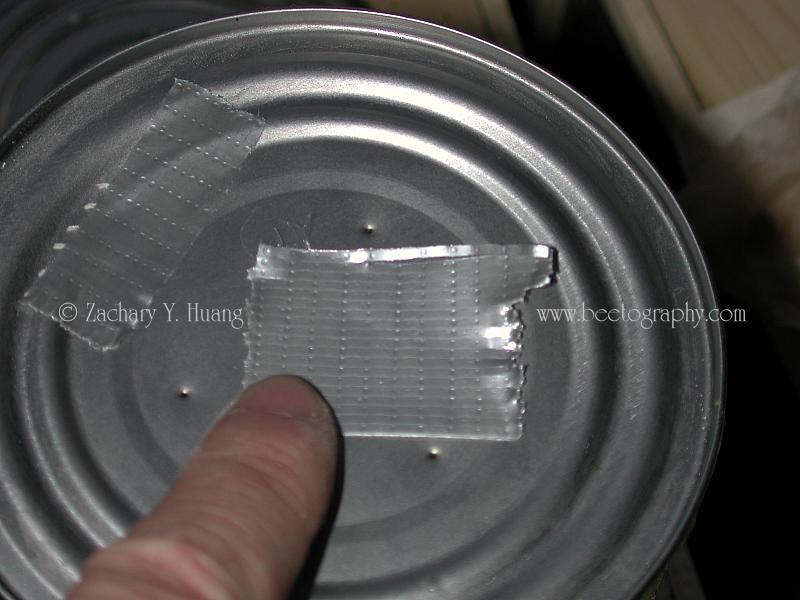
Then ducktaped the holes. Next day I found on some, the tape was chewed by bees and all sugar leaked out.
[note: 40 package bees: 3 lbs = 453 gram x 3 = 1359 gram, each bee = 0.12 gram. = 11,325 bees per 3 lbs. x 40 = 453,000 bees + 30 queens. so almost half a million of bees! @ $2800]. Each bee is worth 0.61 penny! Quite expensive and I was careful not to kill too many pennies 🙂